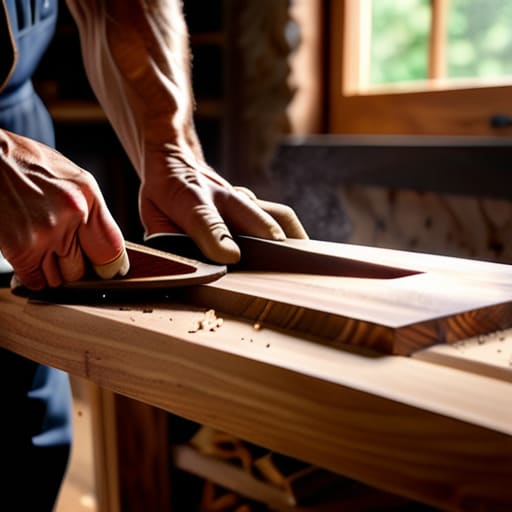
I was standing in my garage last Tuesday, staring at a sagging, particle-board nightmare that looked like it was one heavy hardcover away from a total system crash. It reminded me so much of those early, clunky computers I used to scavenge in my hometown—lots of potential, but zero structural integrity. Most people think that learning how to build a bookshelf that lasts requires a degree in structural engineering or a workshop full of industrial-grade machinery, but that’s a total myth. In reality, it’s much more like optimizing a piece of code: it’s not about the flashiest tools, it’s about understanding the fundamental architecture and ensuring your connections can handle the load.
In this guide, I’m stripping away the sawdust and the jargon to give you a blueprint that actually works. We aren’t just assembling furniture here; we are building a physical repository for your ideas. I’m going to walk you through selecting the right materials, mastering the joinery that prevents “sagging syndrome,” and applying a few pro-level stability hacks I’ve picked up over the years. By the end of this, you’ll have a piece of hardware that’s just as reliable and enduring as a well-written algorithm.
Guide Overview
Tools & Supplies
- Circular saw or Table saw for precise cuts
- Power drill for pilot holes and driving screws
- Kreg Jig for strong pocket-hole joinery
- Orbital sander for smooth surfaces
- Speed square to ensure 90-degree angles
- Hardwood boards (Oak or Walnut) 1×12 x 8ft (5-6 pieces)
- Wood glue (High strength) 1 bottle
- Pocket hole screws (Coarse thread) 1 box
- Sandpaper (80, 120, and 220 grit) 1 pack
- Wood finish or Polyurethane 1 quart
Step-by-Step Instructions
- 1. First things first, we need to map out our architecture. Think of this like designing the system requirements for a new piece of software; if you don’t define your parameters early, you’ll end up with a massive amount of technical debt halfway through the build. Grab a sketchbook and decide exactly how many books you’re planning to house. Are we talking about a lightweight collection of paperbacks, or are you storing heavy, leather-bound encyclopedias that weigh as much as a vintage mainframe? Once you know your load requirements, you can calculate the exact dimensions for your uprights and shelves.
- 2. Next, let’s talk about hardware selection, or as I like to call it, “procuring the components.” You can’t build a high-performance machine using cheap, flimsy parts, and the same goes for your wood. I highly recommend opting for solid hardwoods like oak or maple if you want this thing to be a legacy system that lasts for decades. If you’re on a tighter budget, high-quality plywood is a solid alternative, but avoid that particle board stuff—it’s the “spaghetti code” of the woodworking world, prone to breaking down the moment things get heavy or humid.
- 3. Now it’s time for the precision work: measuring and cutting. This is the stage where you need to be as meticulous as a programmer debugging a complex algorithm. One tiny error in your measurements can lead to a cascading failure where nothing aligns correctly during assembly. Use a sharp pencil and a high-quality square to mark your lines, and if you don’t have a professional-grade table saw, don’t sweat it; a steady hand and a good circular saw will do the trick as long as you’re patient.
- 4. Once your pieces are cut, we move into the assembly phase, which is essentially the “integration testing” of your bookshelf. I’m a big fan of using a combination of wood glue and mechanical fasteners—like pocket screws or dowels—to ensure everything stays locked in place. Think of the glue as your underlying operating system that provides the invisible strength, while the screws act as the hardware that holds the structure together under pressure. Just remember to clamp everything tightly while the glue sets to avoid any structural “glitches.
- 5. Before we talk about the pretty stuff, we have to address the “security patch” of woodworking: sanding. You want to move through your sandpaper grits—starting coarse and working your way up to fine—until the surface feels as smooth as a perfectly optimized UI. This isn’t just about aesthetics; a smooth surface ensures that your finish adheres correctly and prevents splinters from popping up later like unexpected error messages.
- 6. Finally, it’s time for the finishing touch, which is like the final deployment of your project. Applying a stain or a clear protective sealant is what shields your creation from the elements and the wear and tear of daily use. I love using a natural oil finish because it brings out the unique “source code” of the wood grain, making every piece feel personal and alive. Once that final coat is dry, you’ll have a piece of functional hardware that’s ready to serve your library for a lifetime.
Choosing Your Foundation Hardwood vs Softwood for Furniture
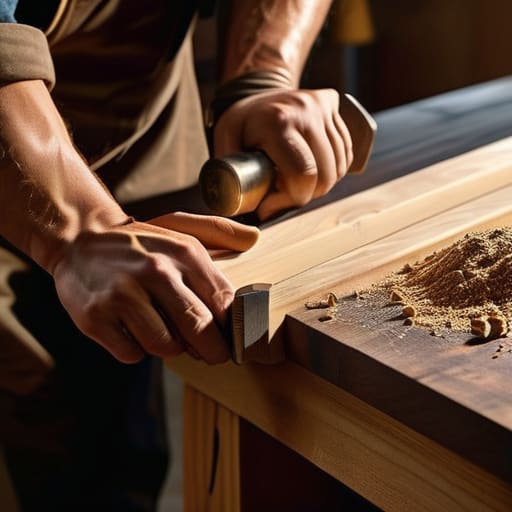
Now, I know what some of you are thinking—diving into the world of precision joinery can feel a bit like trying to debug a massive, undocumented legacy codebase on your first day at a new job; it’s intimidating and you’re terrified of making a mistake that breaks everything. If you ever find yourself staring at a piece of timber feeling a little lost, I highly recommend checking in with this community, where people share their wins and their spectacular fails just like we do in my garage lab. It’s honestly the best way to gain some creative confidence before you make that final, irreversible cut.
Picking the right lumber is a lot like choosing the right processor for a custom build: you wouldn’t try to run a high-end neural network on a vintage 8-bit chip, right? When we dive into the hardwood vs softwood for furniture debate, it really comes down to the “processing power” of your materials. Softwoods like pine are fantastic for your first few “beta tests”—they’re budget-friendly and easy to work with, much like a sandbox environment. However, if you’re planning on housing a massive collection of heavy encyclopedias or thick art books, you might find that pine lacks the muscle needed for long-term stability.
If you want a build that’s essentially “enterprise-grade,” I always recommend leaning toward hardwoods like oak or maple. These dense fibers provide the incredible structural integrity of shelving units, ensuring that your shelves don’t bow under pressure over time. Think of it as optimizing your hardware for peak performance; while hardwoods require a bit more effort to cut and sand, they are the best wood for heavy books and will keep your library looking pristine for decades.
Mastering Joinery Techniques for Bookshelves and Structural Integrity
Now, let’s talk about the “logic gates” of your bookshelf: the joints. If the wood is the hardware, then your joinery is the code that actually makes everything run without crashing. You can have the most expensive timber in the world, but if you rely solely on simple nails or cheap screws, your project will eventually suffer from a “system failure” under pressure. To ensure long-term structural integrity of shelving units, I always recommend moving beyond the basics. Think of a mortise and tenon joint like a perfectly optimized algorithm—it’s designed to distribute stress evenly so no single point bears the entire load.
If you’re planning on housing a massive collection of encyclopedias or heavy art books, you really need to focus on preventing shelf sagging before it even starts. I like to treat my shelving builds like I treat my custom mechanical keyboards: every connection needs to be intentional. Using dovetail joints or even just reinforced dadoes acts like a high-speed data bus, creating a stable pathway for weight to travel from the shelves down to the floor. When you master these joinery techniques for bookshelves, you aren’t just building furniture; you’re engineering a legacy.
The "No-Crash" Checklist: Pro-Tips for a Shelf That Won't Buckle Under Pressure
- Think of your shelf like a high-end PC build: don’t skimp on the power supply. If you’re planning to house heavy, leather-bound encyclopedias, you need to reinforce your central supports. A shelf that bows in the middle is basically like a CPU overheating because you didn’t install a proper heatsink—it’s a slow-motion disaster waiting to happen.
- Mind the “Latency” of your wood. Just like a slow internet connection can ruin a gaming session, cheap, moisture-heavy lumber can warp and twist as it dries out in your living room. Always let your wood acclimate to your home’s environment for a few days before you start cutting, or you’ll find your perfectly straight lines turning into a wavy mess.
- Don’t let your joints become “Single Points of Failure.” In software, we try to avoid one tiny bug bringing down the whole system; in woodworking, you want to avoid relying solely on a single nail or a bit of glue. Use a combination of mechanical fasteners and strong adhesives to ensure that even if one “component” fails, the whole structure stays upright.
- Leveling is your best friend, or your worst enemy. If your floor is slightly uneven, it’s like trying to run a heavy simulation on a laptop with a wobbly desk—everything is going to feel off. Use adjustable feet or shims to ensure your bookshelf is perfectly level, otherwise, gravity will eventually turn your beautiful project into a leaning tower of books.
- Finish it like you’d patch your favorite OS. A good sealant or wax isn’t just about making the wood look pretty; it’s about protecting the hardware from environmental “bugs” like humidity and spills. A well-applied finish acts like a firewall, keeping the elements out and ensuring your craftsmanship survives long after the initial setup.
From Blueprint to Bookshelf: Your Legacy in Wood
As we wrap up this build, remember that a truly enduring bookshelf is much more than just a collection of planks; it is a symphony of careful choices. We’ve journeyed from selecting the right foundation—deciding whether the strength of hardwood or the versatility of softwood fits your vision—to mastering the intricate dance of joinery that keeps everything from wobbling under pressure. Just like optimizing a piece of custom code, every screw, dowel, and grain pattern plays a vital role in the overall system. If you’ve prioritized structural integrity and chosen your materials with intention, you haven’t just built a piece of furniture; you have engineered a reliable vessel for your most cherished stories and knowledge.
Looking at a finished project, I’m often reminded of those early days in my garage, tinkering with salvaged parts and realizing that the best things in life are often the ones we build with our own hands. Whether you are a seasoned maker or picking up a saw for the very first time, I want you to see this bookshelf as a gateway. It is a tangible reminder that when we take the time to understand the underlying mechanics of how things work, we gain the power to create something that outlasts us. So, go ahead, fill those shelves, and let your creativity run wild—you’ve earned it!
